Customers and Locations
How to Create a Customer
Path: Log in -> Dashboard -> Customers -> Add Customer
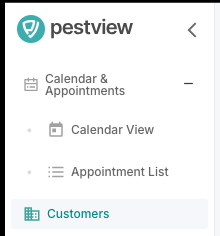

- After logging in, look at the sidebar on the left and click on Customers
- You'll be redirected to the Customers Table.
- At the top-right corner, click "Add New Customer"
- A customer form will appear. Fill in the required details and click Submit.
- You'll be redirected back to the Customers Table, where your newly created customer will now appear.
note
If you have want to import existing customers from spreadsheets or another system, please contact our team via email (info@pestview.io) and we can make it happen.
How to Create Locations For a Customer
Path: Log in -> Dashboard -> Customers -> Select Customer row -> Overview -> Locations Tab -> Add New Location

- Once you have created a customer, you can assign locations to them, so you have places to schedule visits.
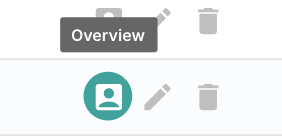
- In the Customers Table, find the customer row you desire.
- On the far-right side of the row, under the Actions column, hover over the first button from the left -- it will say "Overview".
- Click it, and you will be redirected to the customer's page.
- Click on the Locations tab and on the far-right side you will see the "Add New Location" button. Press it.
- A location form will appear.
tip
You can type the address directly on Google Maps search bar at the top of the form. Press Enter, and the form will automatically fill in the address fields.
Fill in the required details and then submit the form, and you will be redirected back to the customer's page.
note
Multiple Locations can be added to a every customer.